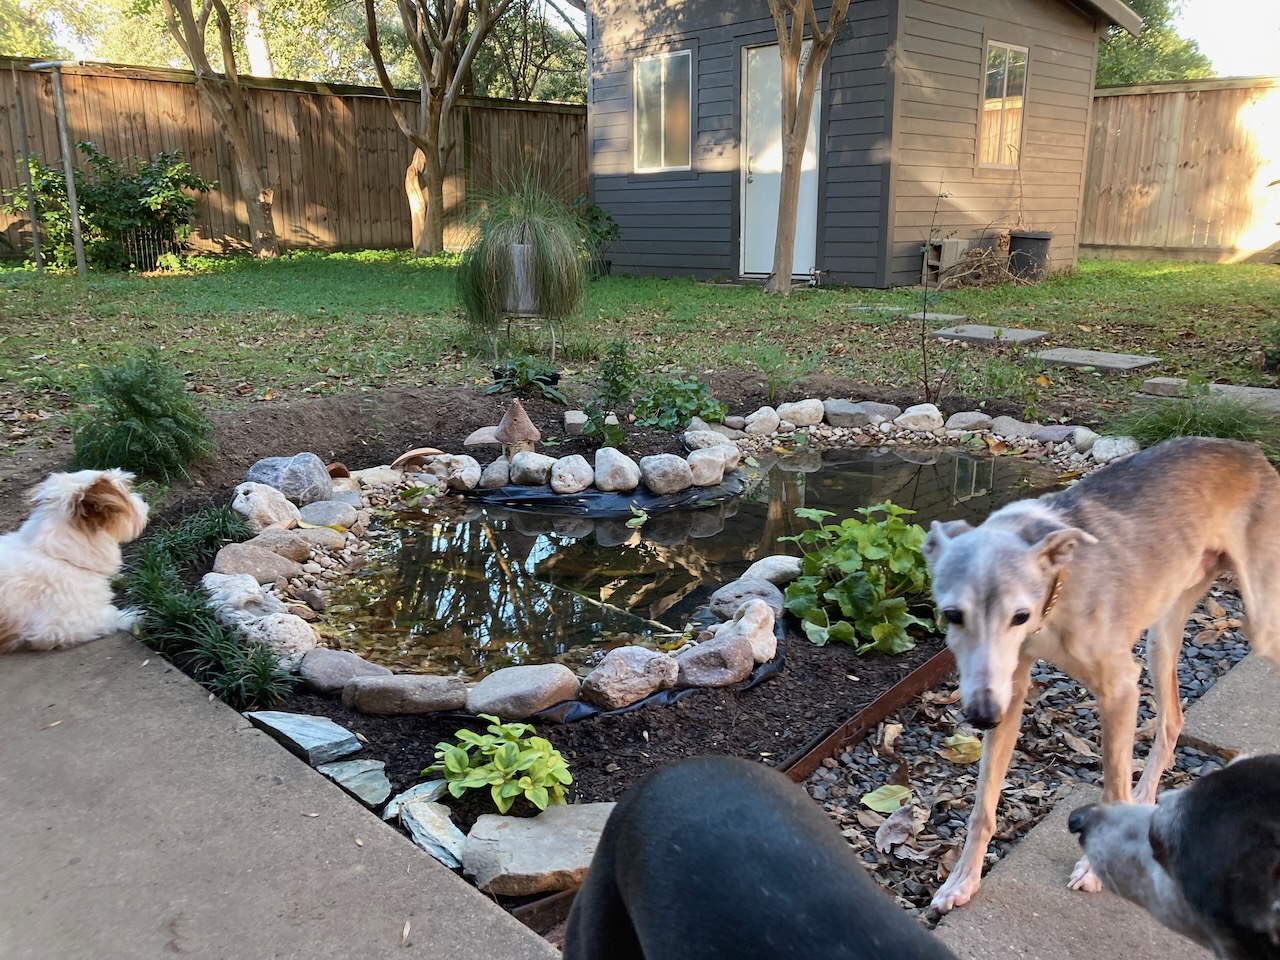
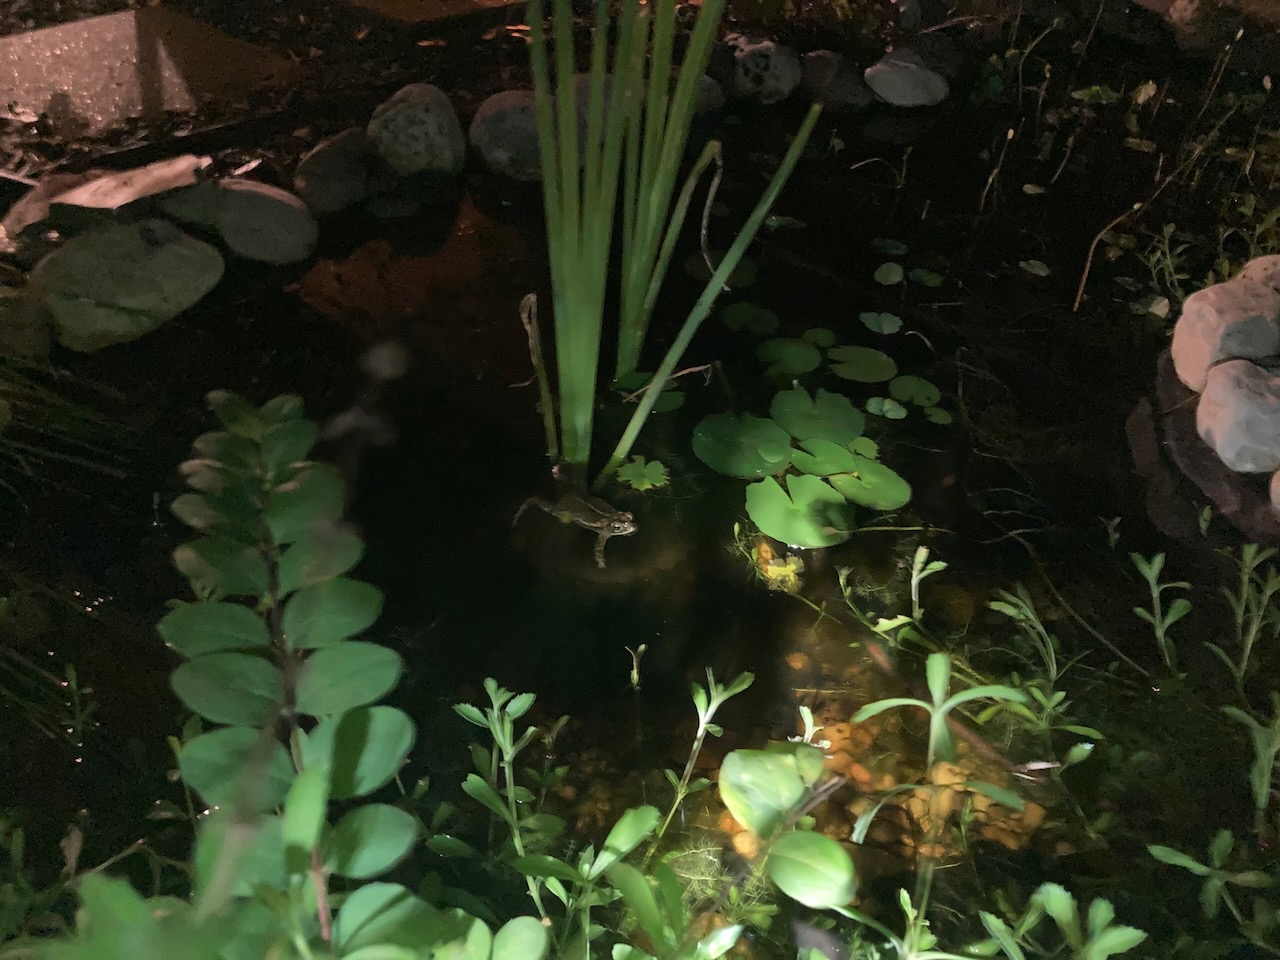
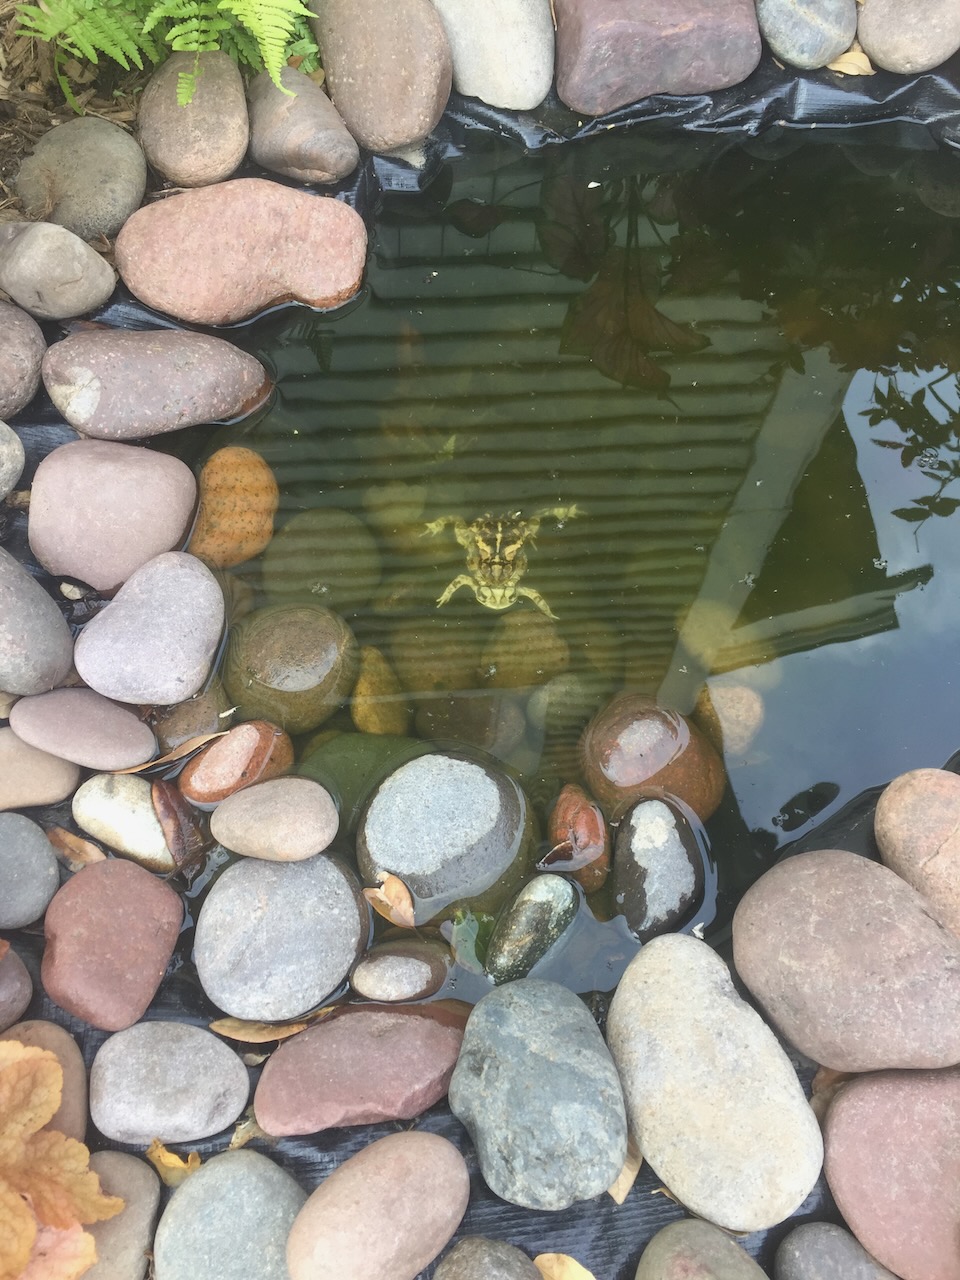
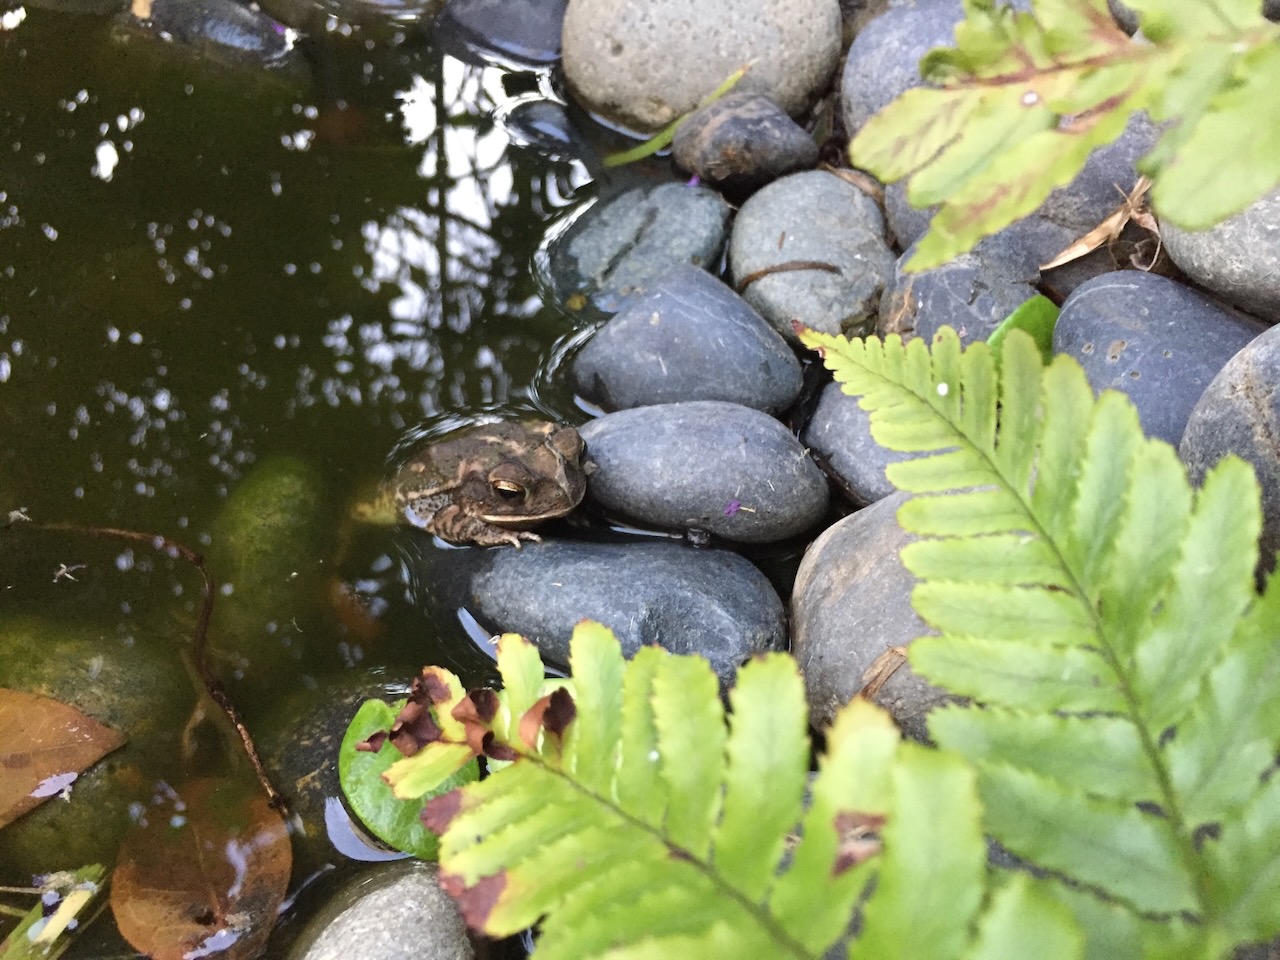
This is the third pond I’ve built, each time they get larger. I think they are such an enriching element in an ecological garden that I will always include one. Because I wish to encourage toads and frogs in my yard, I don’t put fish in it–they would eat the eggs. I’ve seen many generations of toads grow from spawn to tadpole to adult, and it fills my heart with joy every time! The pond also attracts a lot of dragonflies, even moreso when I added the aquatic plants, and birds will occasionally come to get a drink of water or splash in the shallow part.
Something to keep in mind with this kind of pond is that the water is not going to be clear, and it will require some maintenance. In summer, for instance, I have to top it off everyday with several gallons of water (10?), in the cooler temperatures less so. I use water from my rain barrels that is set up to run into the pond via a water hose. If my rain barrels are dry, I add municipal water from mixed with a pond solution to make the water safe for aquatic life. Every so often I pull out the excessive algae that builds up. Lots of people, my husband included, say that having this standing water in the yard is a breeding ground for mosquitos. I have not found this to be true at all. In the beginning, I did see a lot of mosquito larvae in the pond, which I’d fish out with a little net. Once the pond “matured” I don’t see mosquito larvae anymore.
Now, in order to see your pond come to fruition, we will apply the same steps as we did with Designing your Space.
Observation
The most important decision will be where to locate your pond. To make the most of your habitat pond, I would think you’d want to put it in Zone 1, where you will see it everyday, perhaps where you can see it from a window in the house. I wanted mine to be in sunlight because in the shade, I think it would become a mosquito haven, and the aquatic plants that I wanted to include need full sun.
Look for an area with a level space. Pretty much all of my yard is more or less level, so this was not a problem. For this type of pond, in a southeast Texas climate, a depth of 12-18″ should be adequate. In the soil I’ve worked with, I have trouble digging to 18″ so the deepest spot in mine is about 12″. You’ll want to make sure you won’t run into underground lines or pipes. I knew a water line ran under mine and was just careful to dig around the PVC pipe that I encountered and worked around it.
Vision
Do a google image search for pond ideas and start collecting these images for inspiration: pond shape, pond plants in and around, the overall feel, etc.
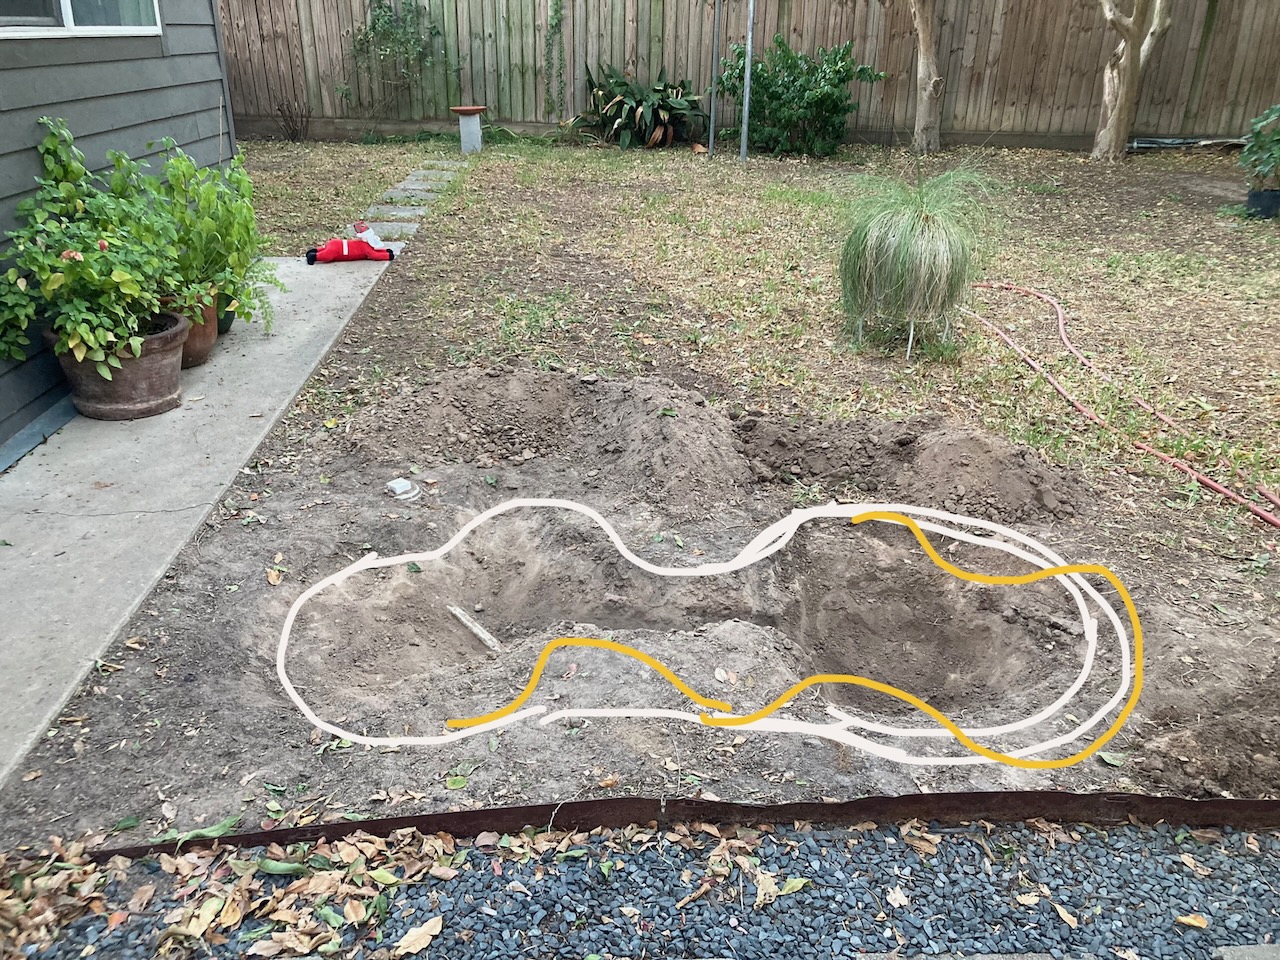
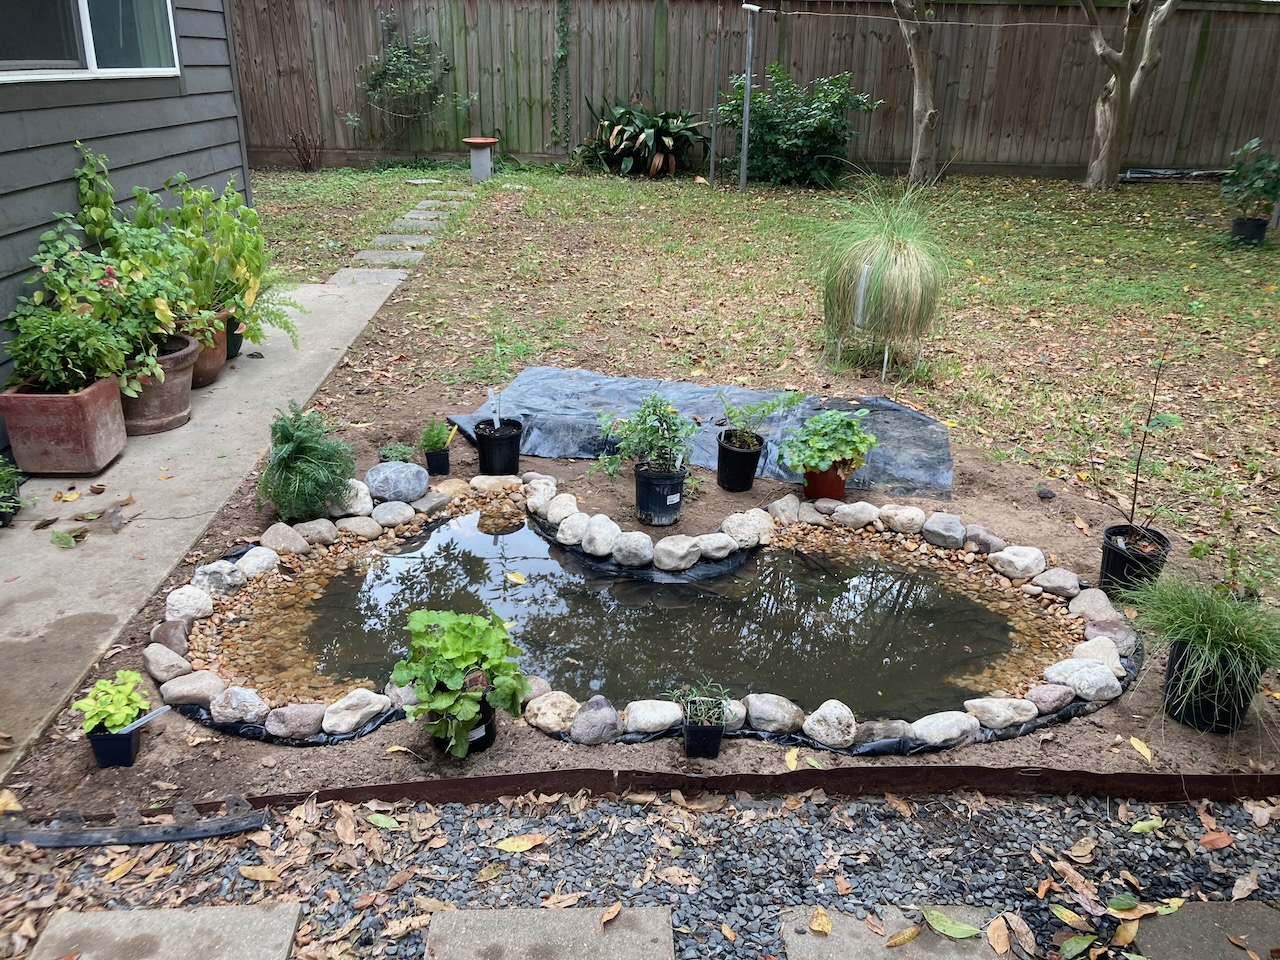
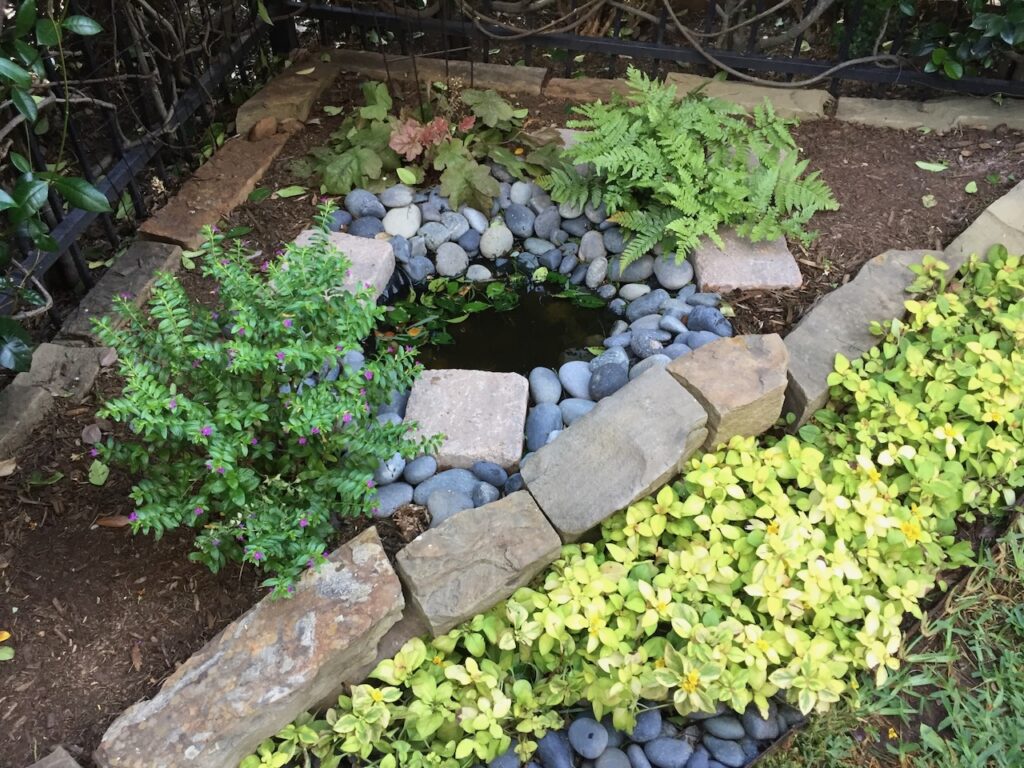
What will the shape of your pond be? I used permaculture principles to increase the edges of my pond. Basically, a figure-8 shape–which is sort of what I went with–will have more edge than a circle. A wavy pond with many “arms” will have even more edge, but a pond like that would need to be larger than what I wanted. More edge creates more area for plants to surround the pond and more shallow areas in the water for habitat.
Planning & Development
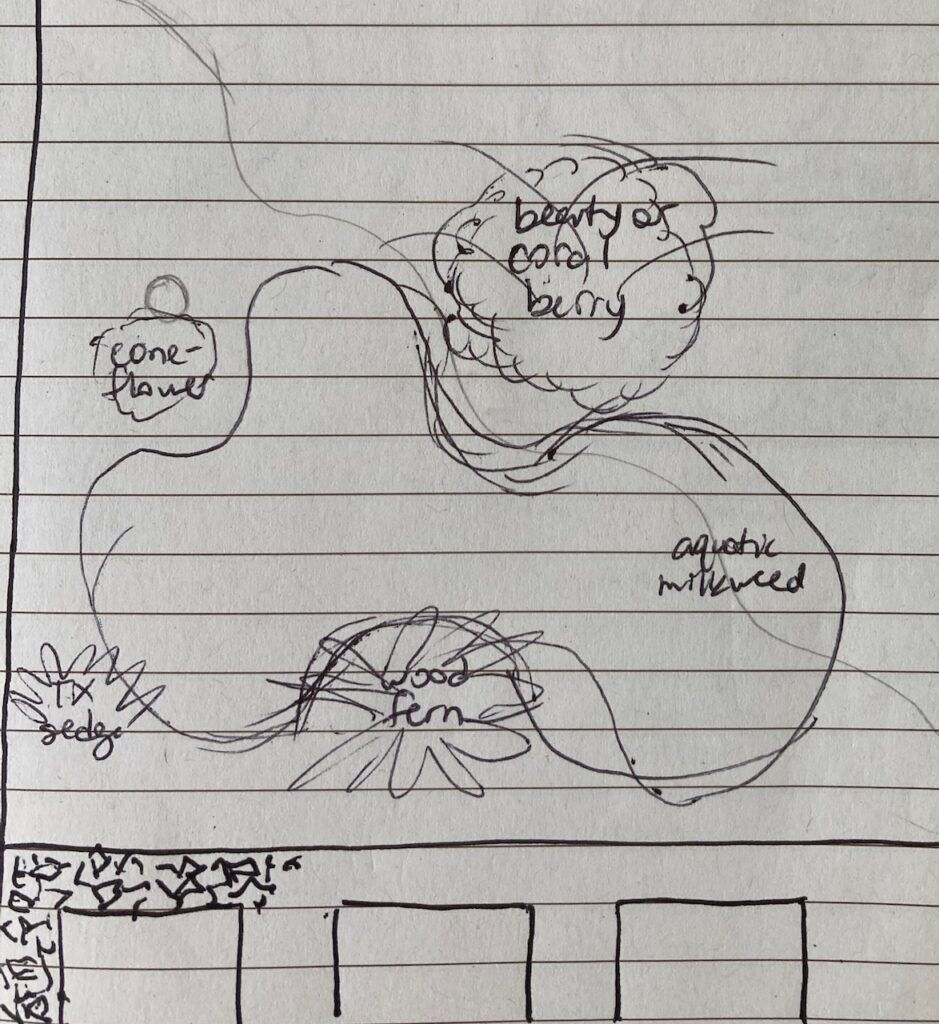
Begin to sketch your vision. It doesn’t have to be pretty (see below). Keep in mind that you’ll want to be able to access all parts of the pond, so you may want to add stepping stones in places.
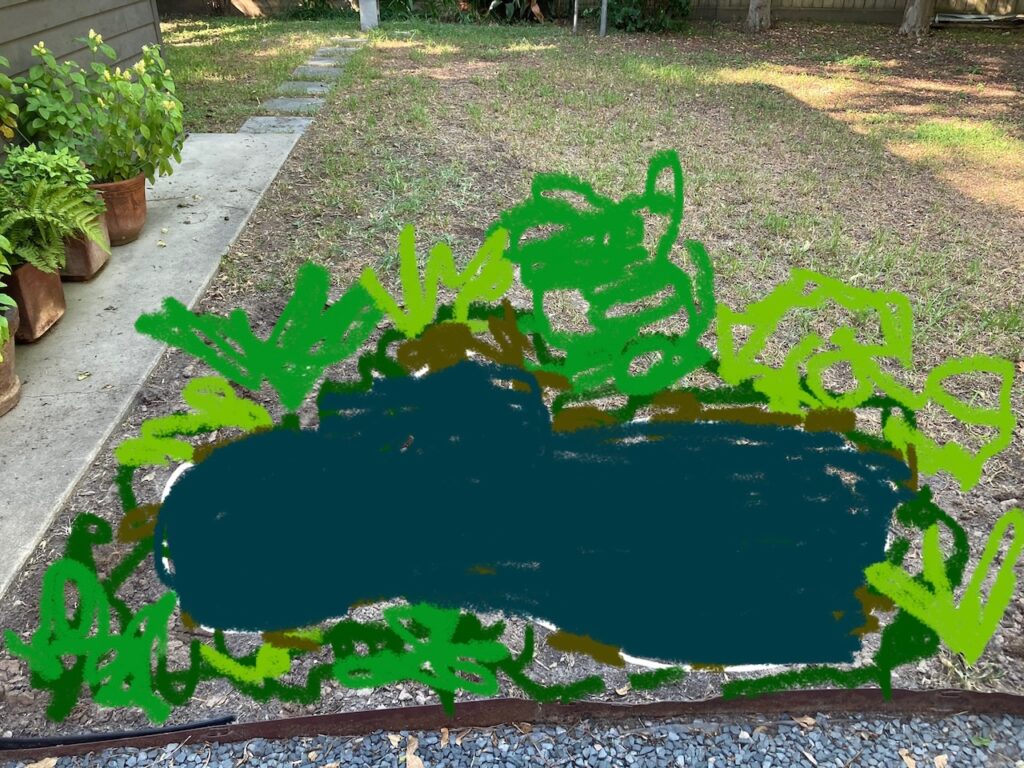
What kinds of plants would you like? Are these plants suitable in or around a pond? I started with dwarf barbados cherry, coral berry, texas sedge, aquatic milkweed, woodfern, coneflower, yarrow, chamomile, coral bells, dwarf mondo grass, variegated creeping jenny, frogfruit, and horseherb.
Will you use a pond liner or buy a preformed pond liner? I chose to use a sheet of pond liner ($30-40 at Home Depot in 2018 vs $100+) because it cost much less and so that I could shape it into how I wanted.
What do you want to surround your pond perimeter with? I chose river rock. I picked up 133lbs from a landscaping company for $23 (2022).
Implementation
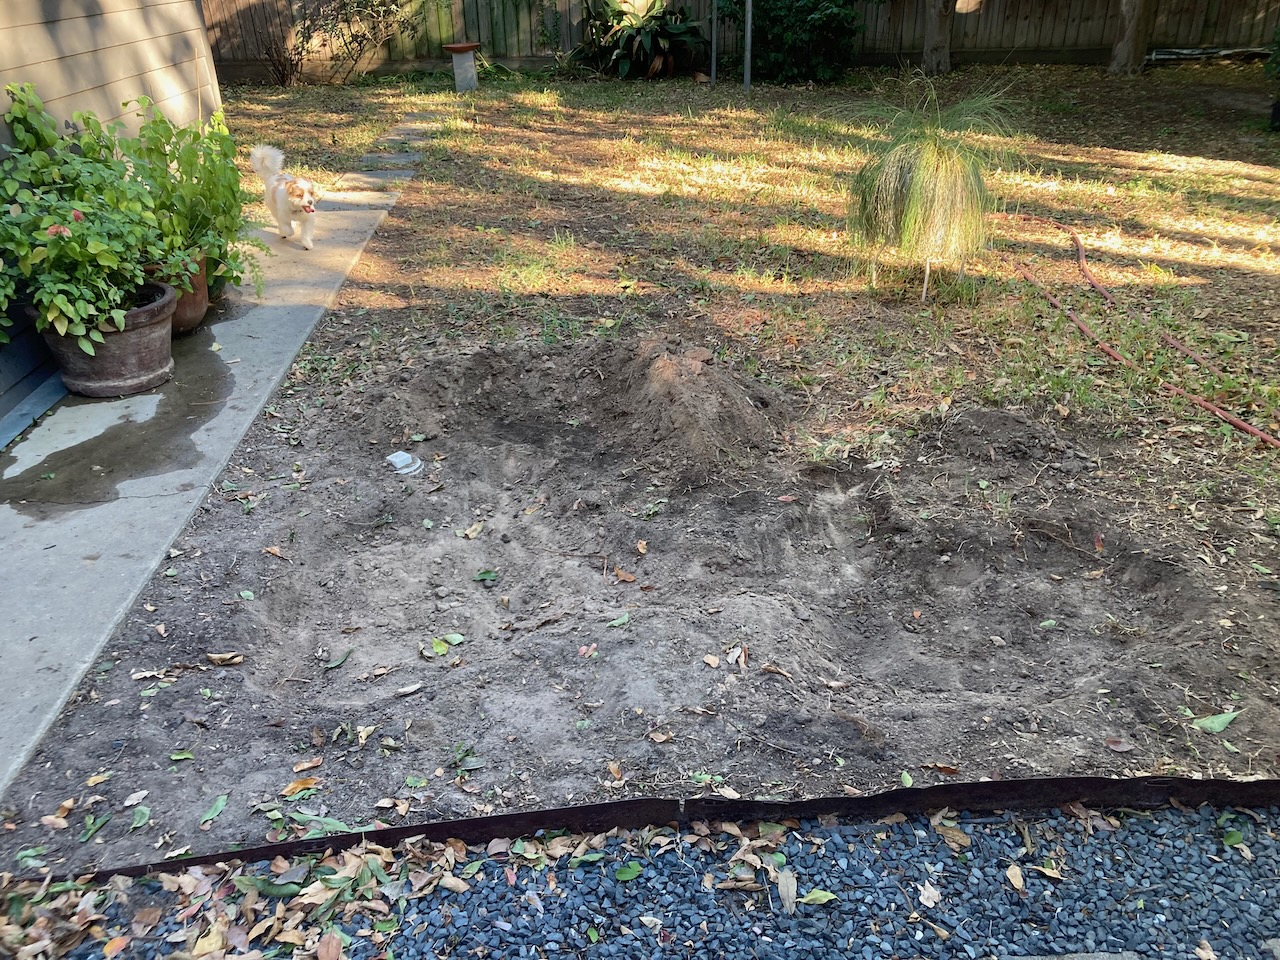
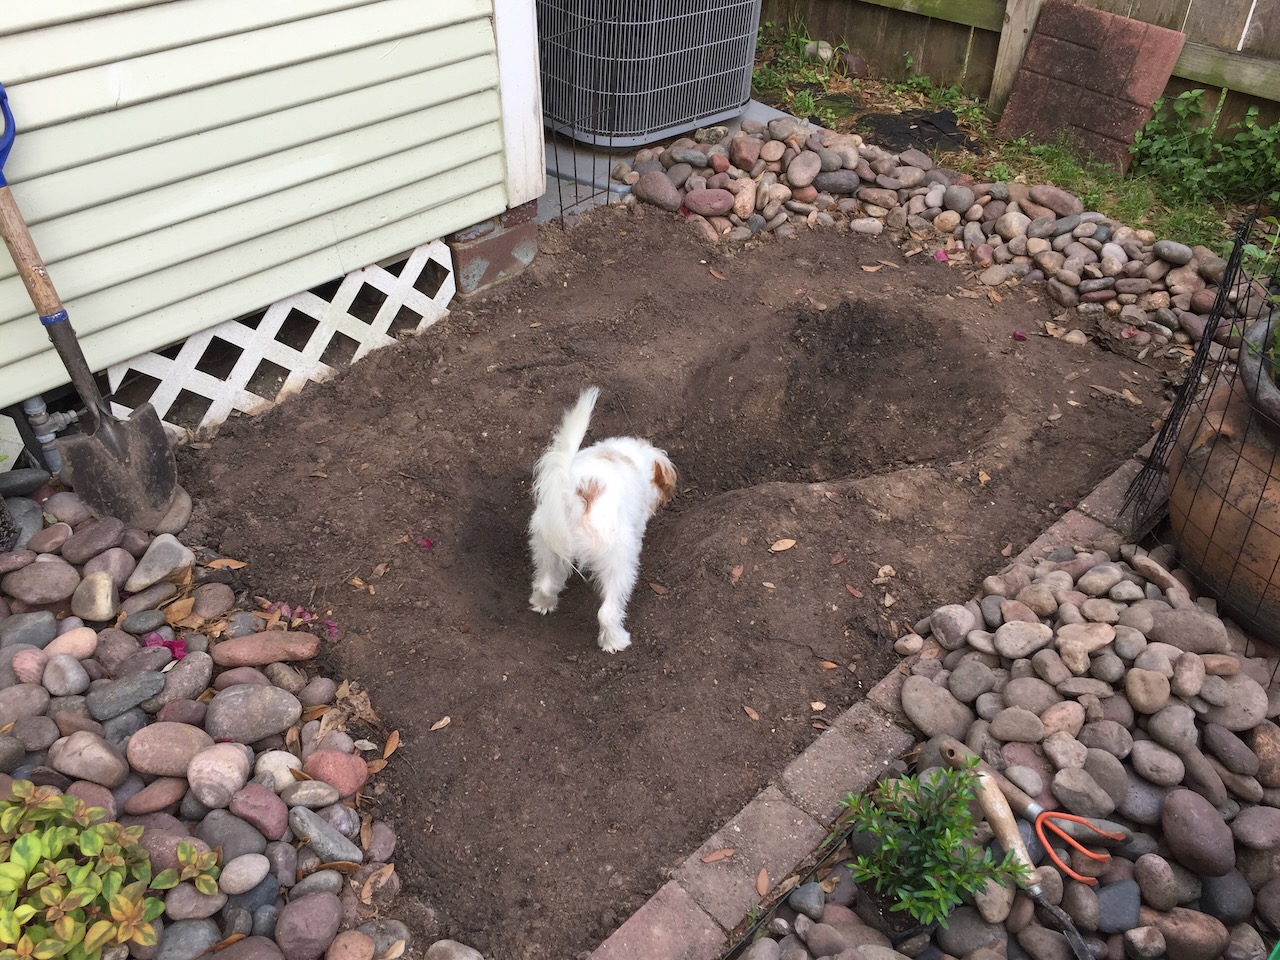
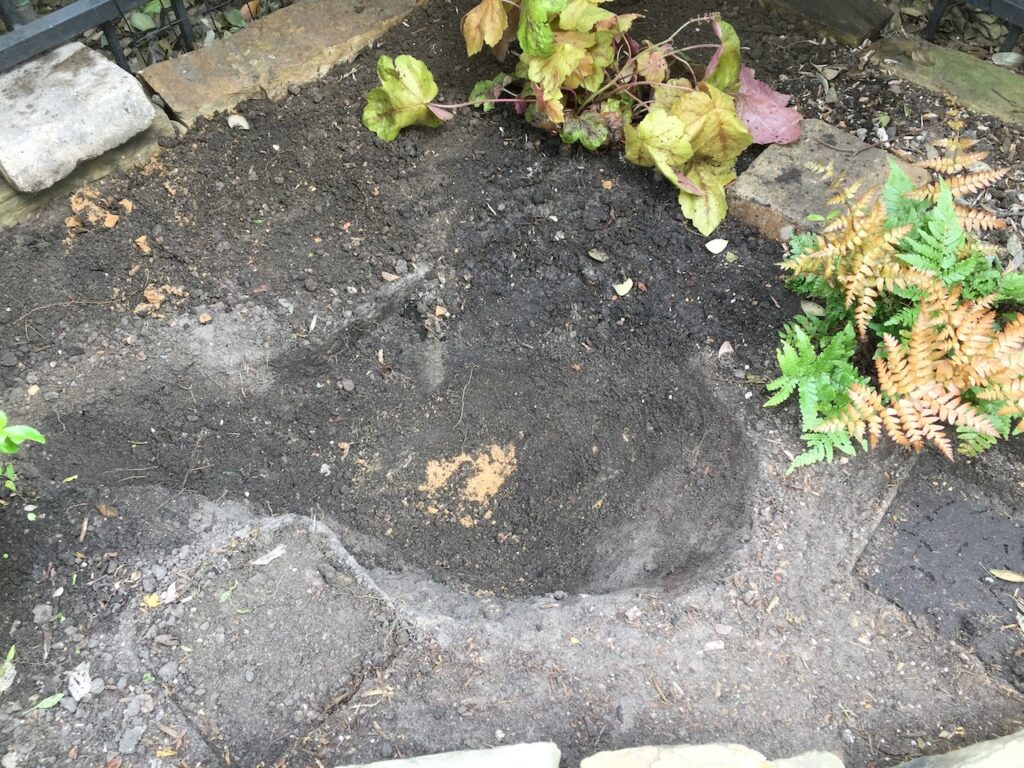
Begin to trace the perimeter of your pond with a shovel, digging out a shallow swale (sunken area). I wanted to build a berm (hill) behind the pond to give the landscape a bit of interest so I just began piling up the dirt where I wanted it. Make sure that as you go, your edges are level with each other. To do this, take a flat board longer than the length of your pond and put a level on top of it. (step 4)
You want to create a gentle slope into the pond so that wildlife has a way to enter and especially exit the pond. If you’re sides are too steep, wildlife that fall in may not be able to get out. You also want to create shelves of different height inside your pond to give different wildlife different options. Unfortunately, I don’t have good photos illustrating the shelves but a google search can help you with this.
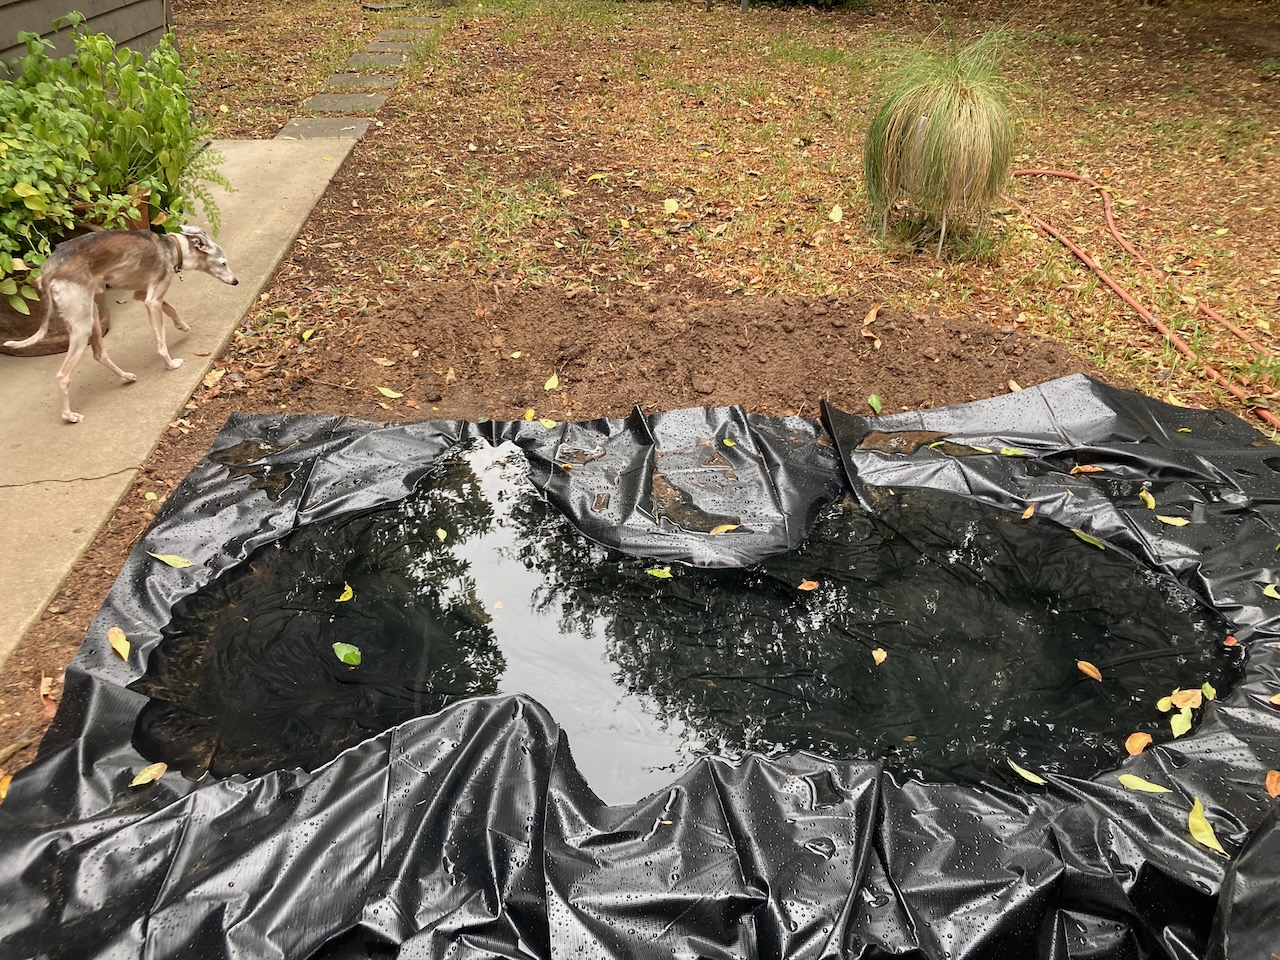
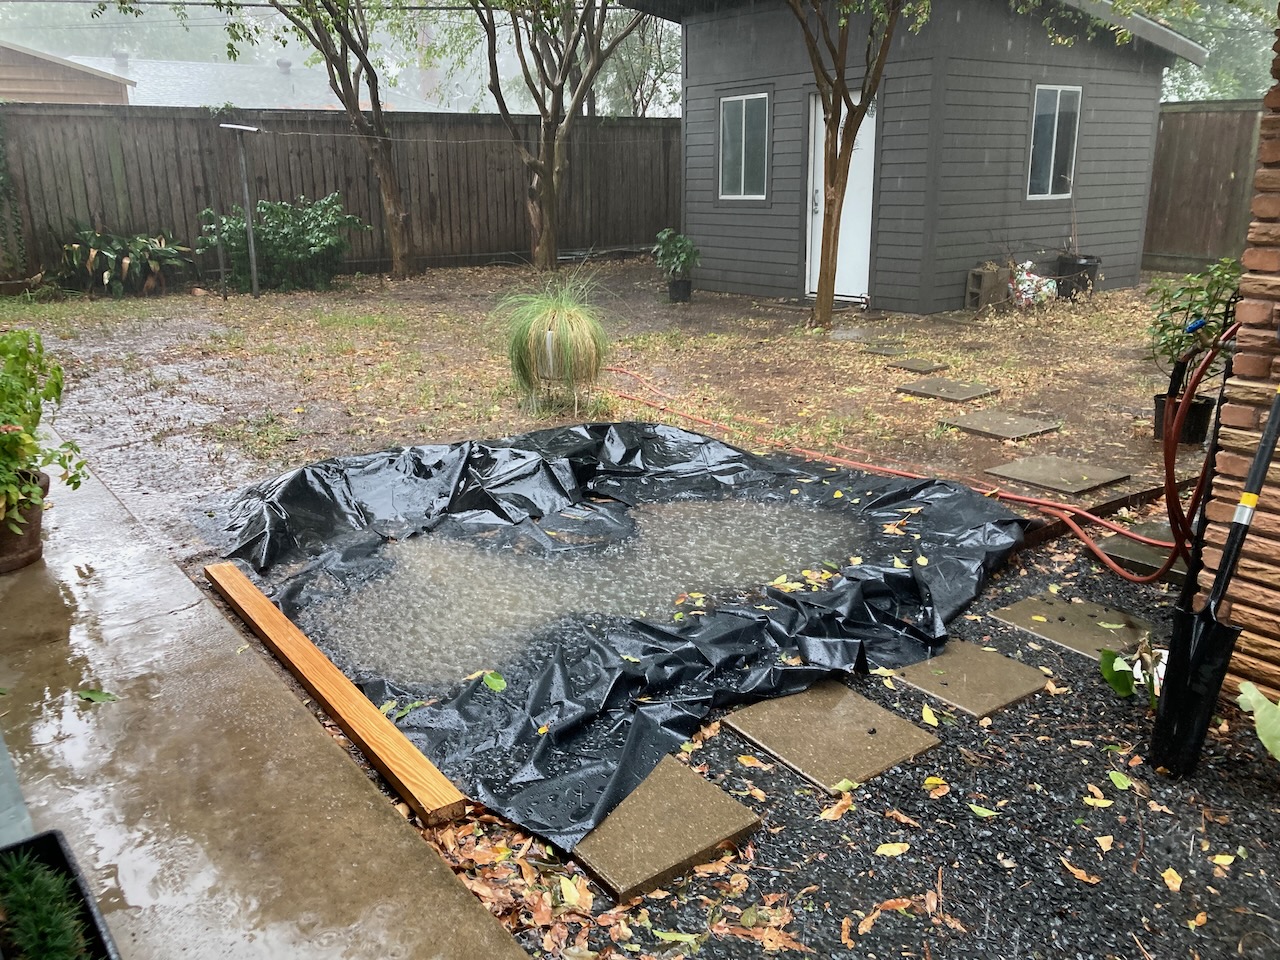
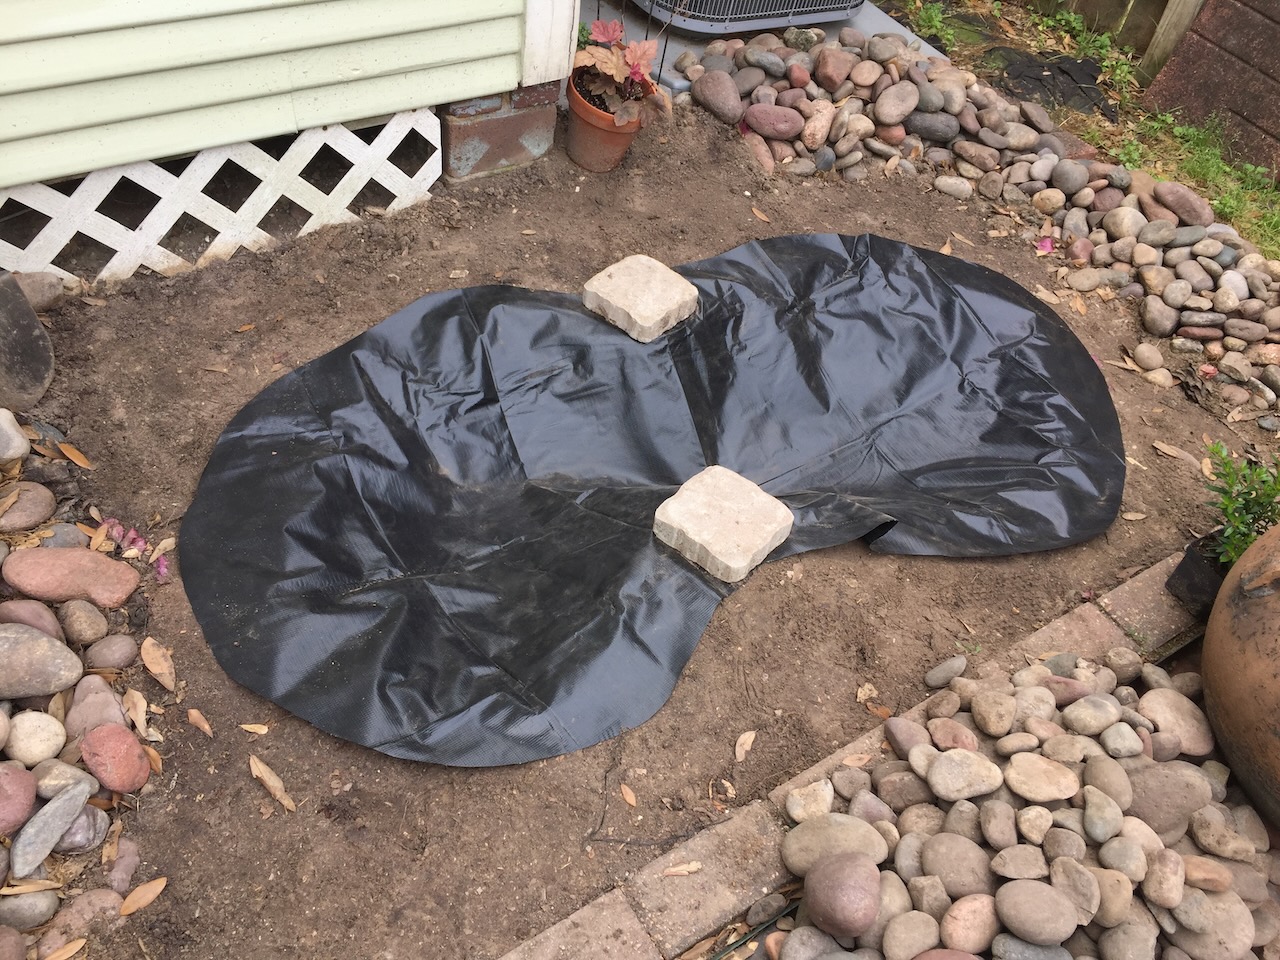
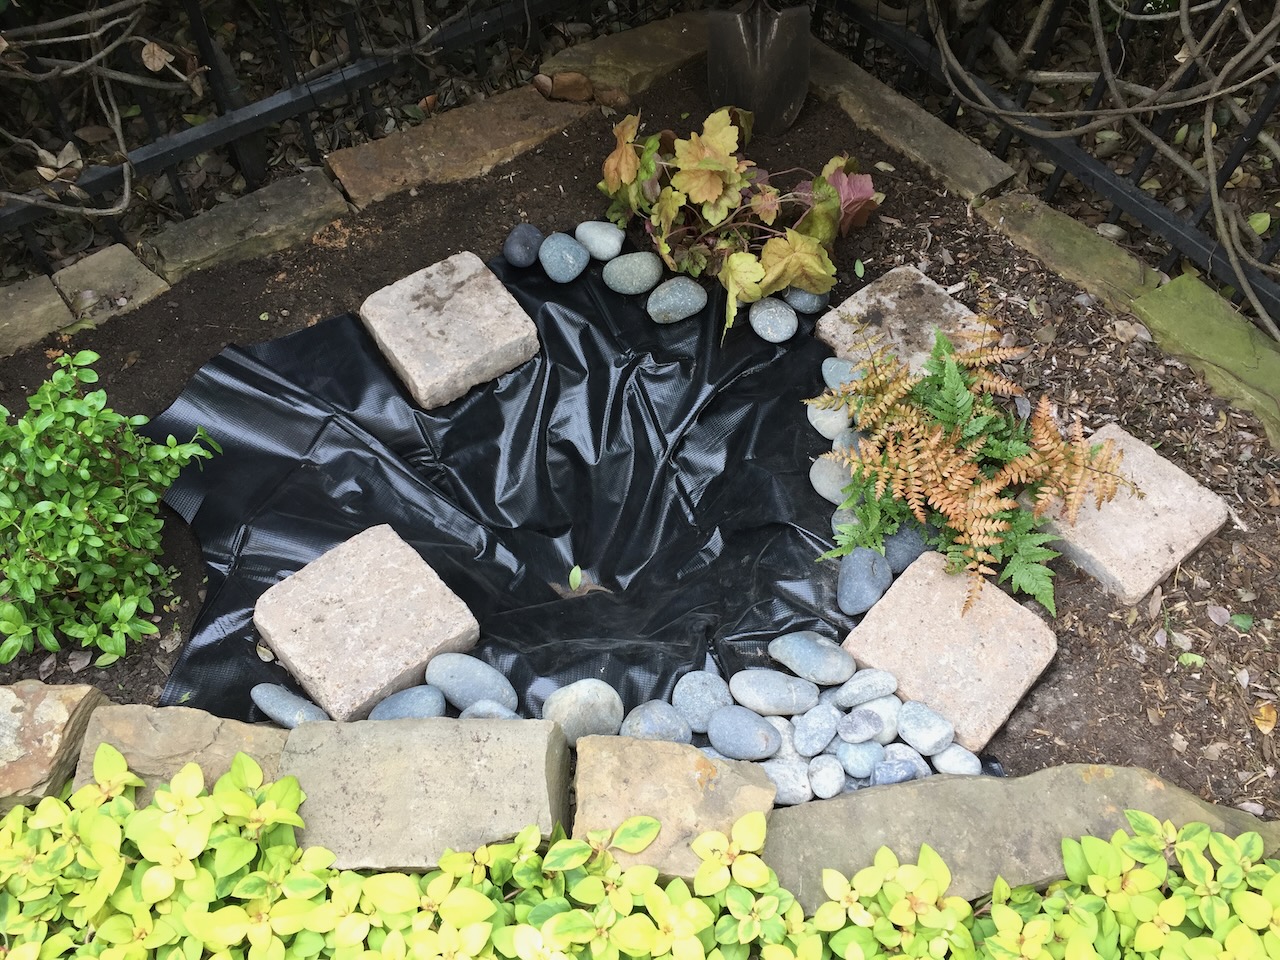
Lay down your pond liner, making sure there is at least 8″ of overlap outside of the pond edge. Fill it with water or wait for a good rain.
Again, make sure that the edges are all still level. If not, you can add dirt under the liner to make it so.
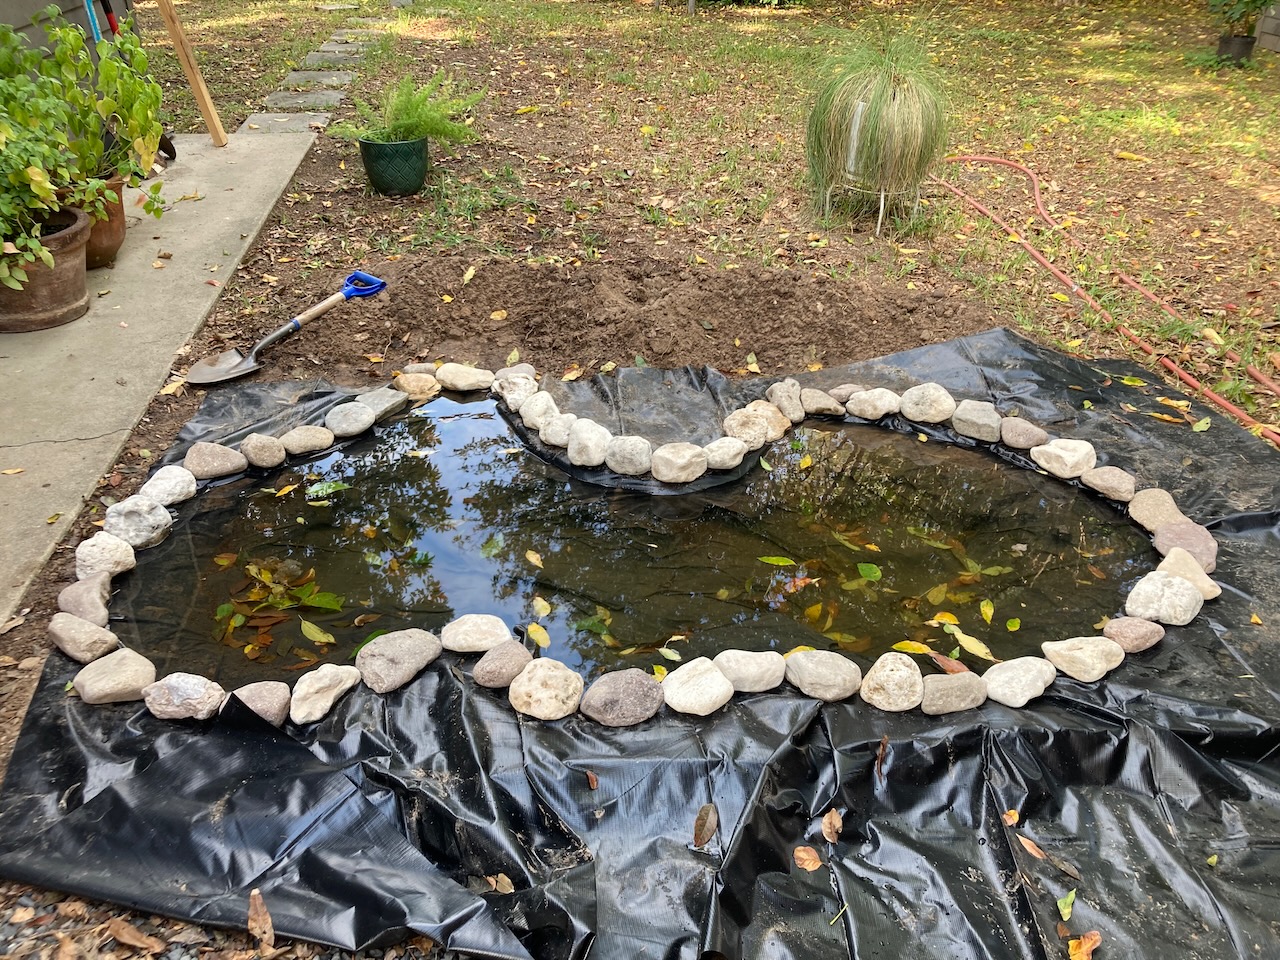
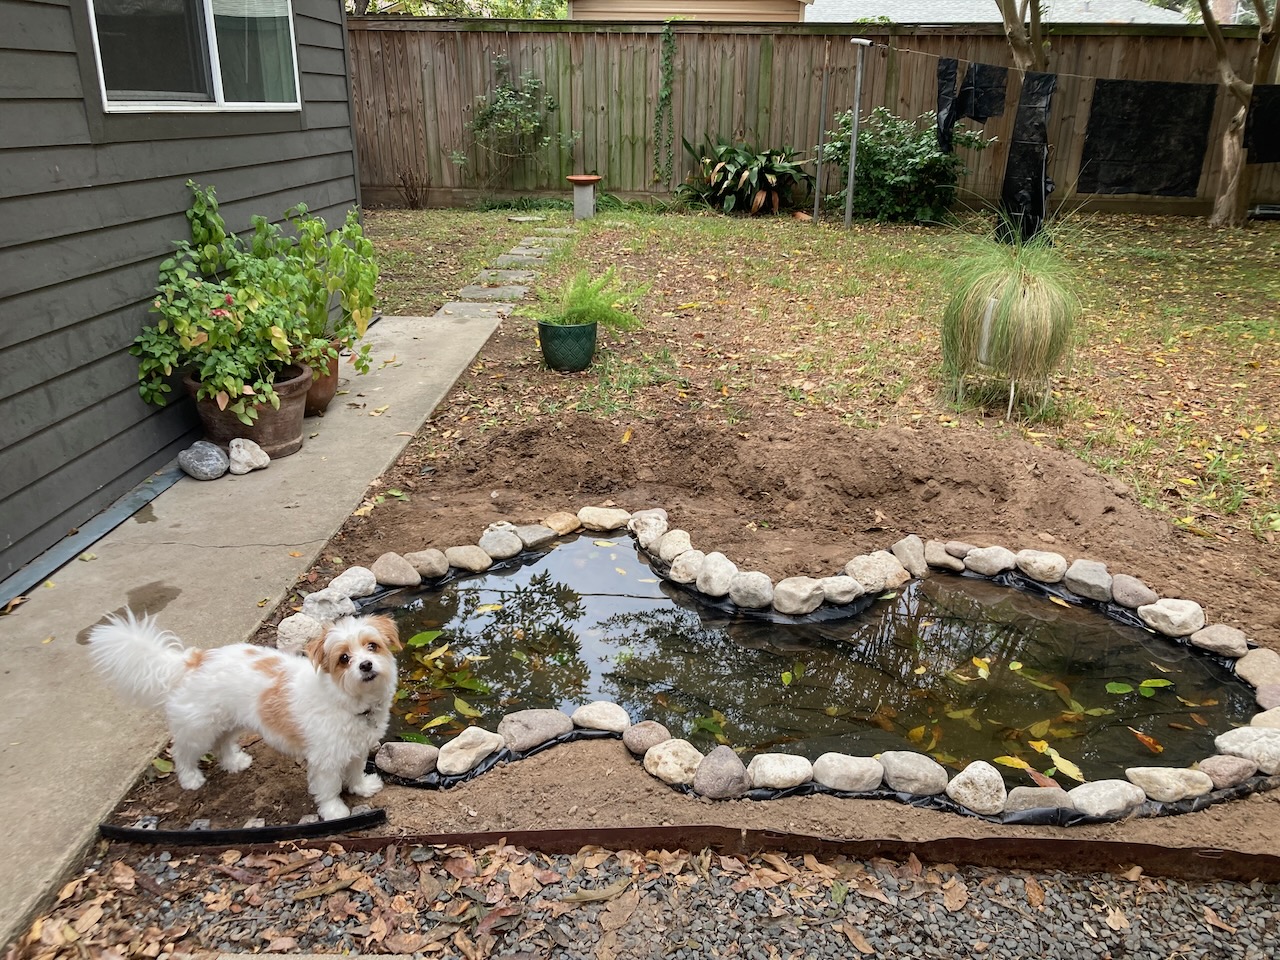
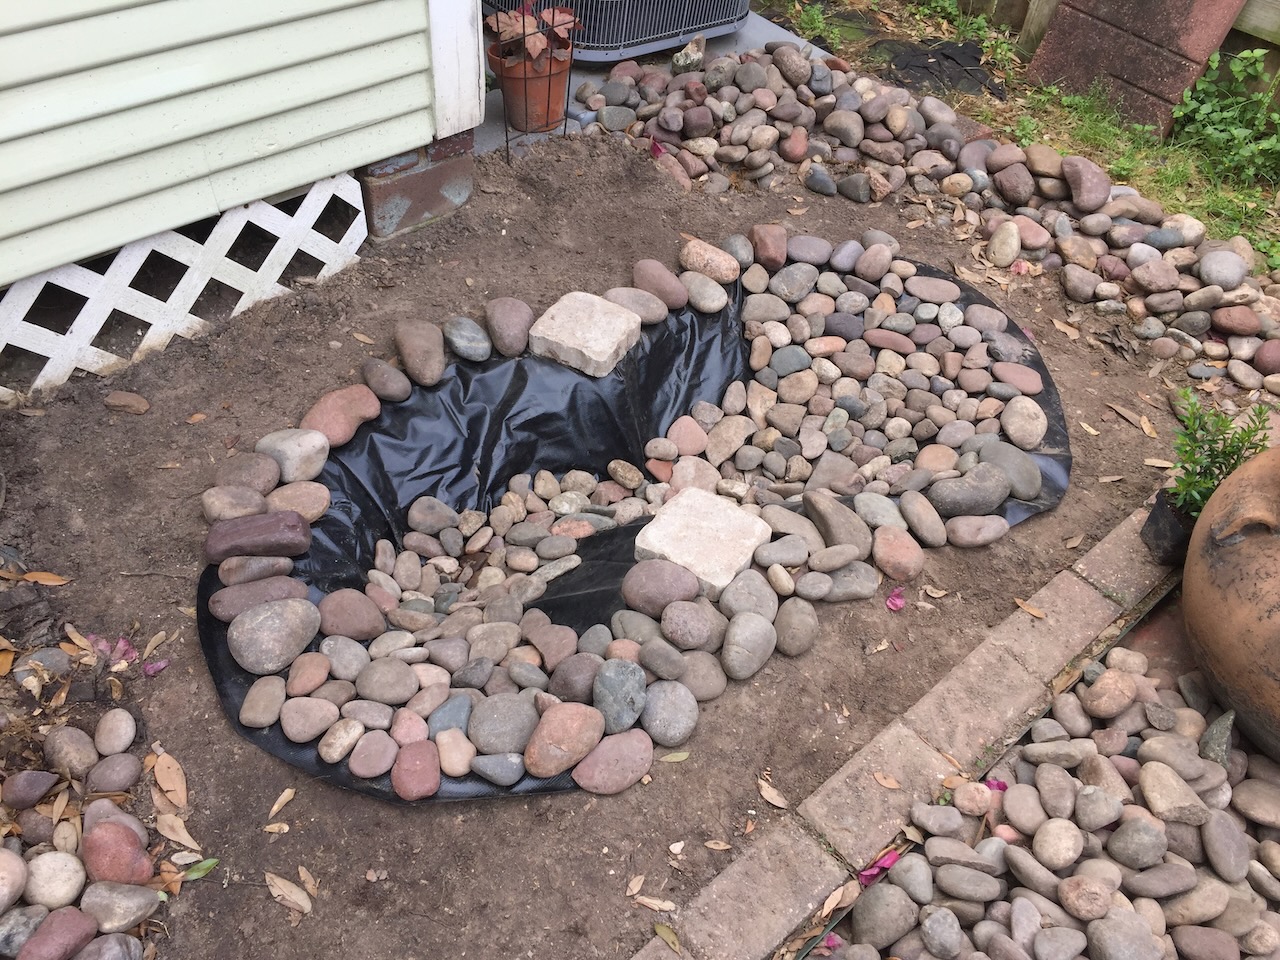
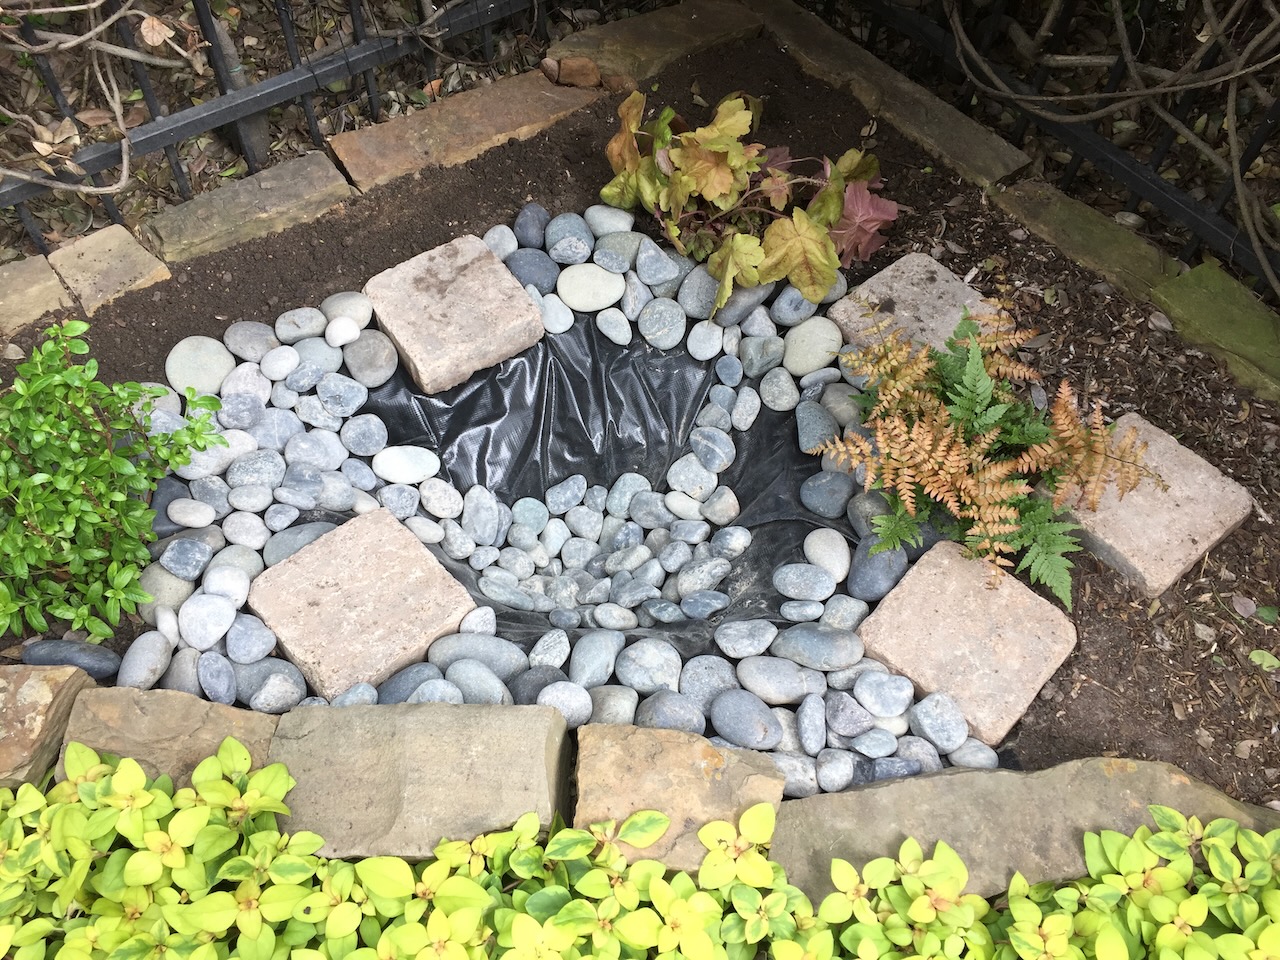
Line the perimeter with rocks. I like to use a mallet to press them into the dirt below.
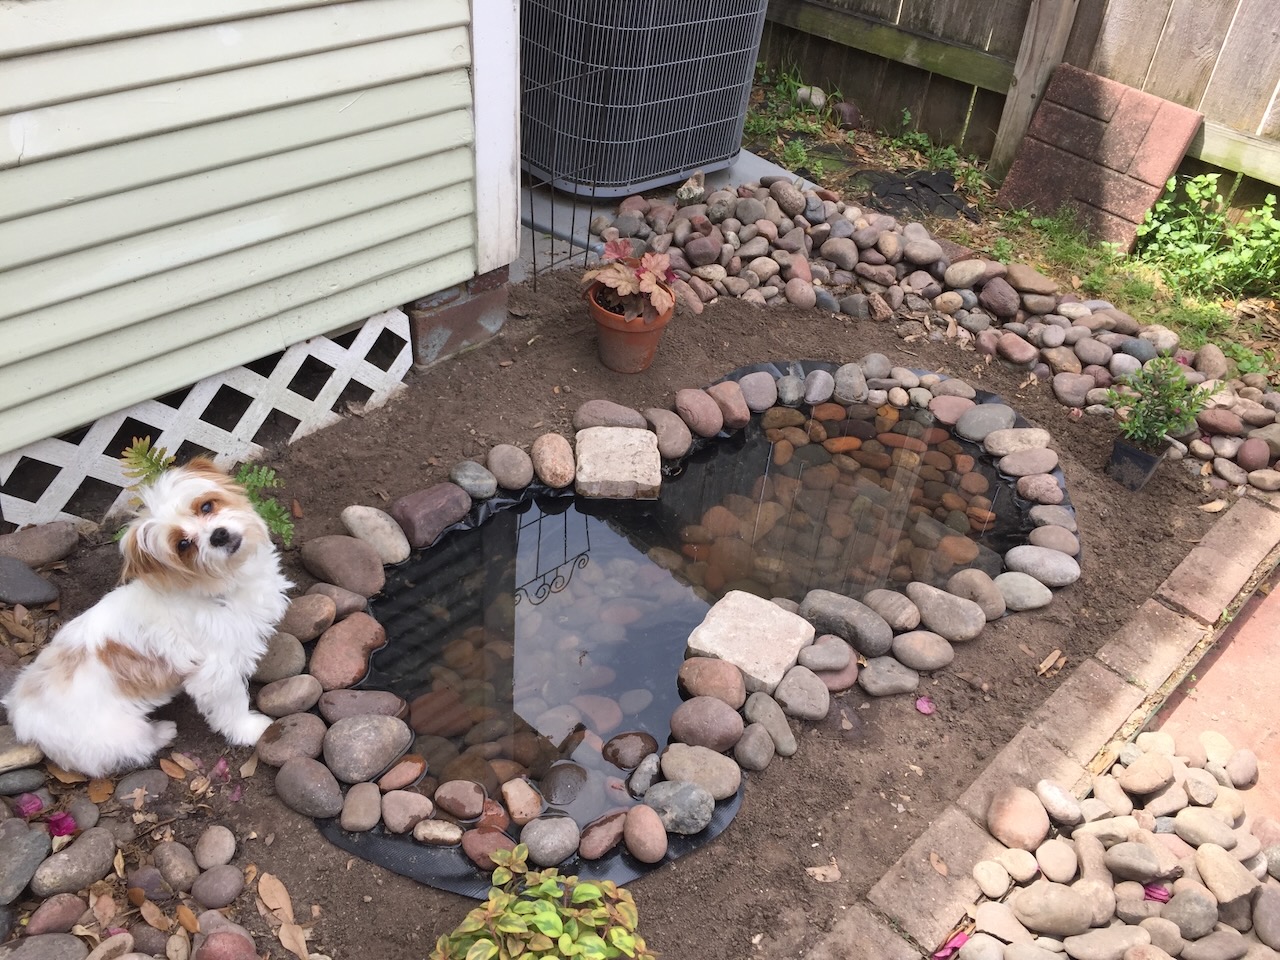
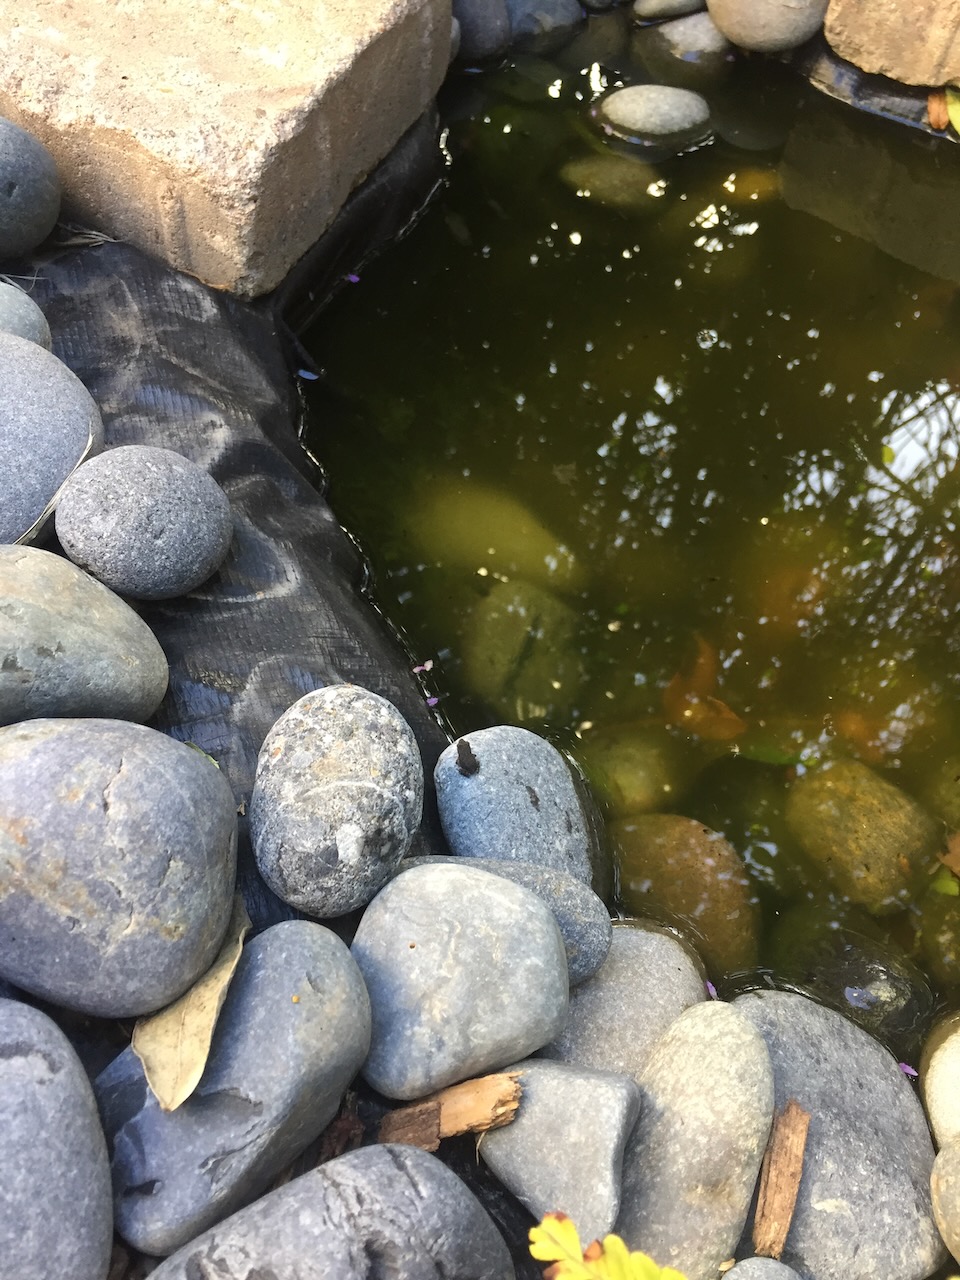
This is the tricky part that I haven’t entirely figured out what’s best to do, and that is how to cut the liner so that your pond water will stay inside the pond. What I did here was cut the liner about 4″ beyond the perimeter so that I could fold up the liner and have the rocks hold it in place. Again, pound the rock in place with a mallet once you’ve folded the liner under it. Then add smaller rocks of various sizes inside the pond that tiny wildlife can use to hide among. (you can see this in step 7)
Arrange your plants around the pond.
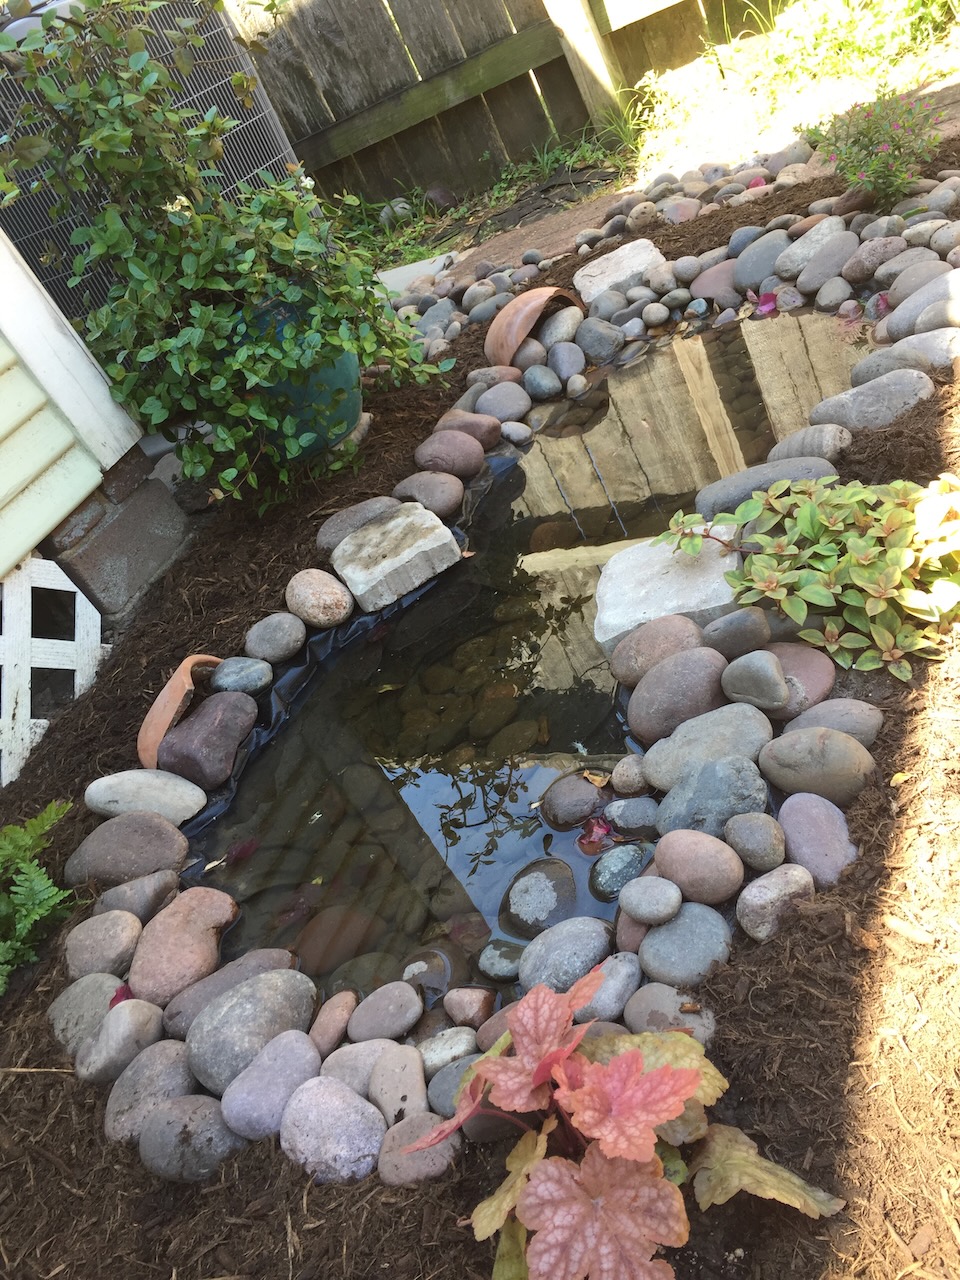
Once you are happy with the arrangement plant them and mulch around them. I used high-quality native wood mulch because I planted plants that prefer some moisture. If you used plants that prefer drier conditions, you may want to mulch with rock/gravel.
To give the frogs and toads even more shelter, you can place broken pieces of planters upside down around the pond (see may 2024 photo below)
step 1
step 2
step 3
step 4
step 5
step 6
step 7
step 8
wait for the toads to arrive!
What I May Do Differently Next Time
To me, the fun part of gardening is that things are always changing. (Though this mindset did take some getting used to, relinquishing the control we sometimes want to have over our projects.) During every season I am moving plants to more suitable locations, tweaking things, etc. It’s an ongoing process that is always encouraging another project, and I love that.
So admittedly I did not take the time to entirely level the pond, so now any time I top it off with water, the water doesn’t rise on one side to meet the rocks so some pond liner shows. Not a big deal, but I’d be more careful about this the next time.
Several of the plants I initially planted didn’t do so well, so I replaced them (yarrow, chamomile, two out of three coral bells, variegated creeping jenny). I wanted to plant some native wildflowers that are known for spreading aggressively (horseherb, frogfruit, gaillardia, and black-eyed susan), and so I will probably remove these before the next season. Apparently mulching twice a year improved the soil a bit too much for these native wildflowers, and they just went berserk, requiring too much maintenance and overtaking the area.
I added aquatic plants: yellow water lily, virginia iris, and bigfoot water-clover. I did end up removing the bigfoot water-clover. I loved the look of it, but it grew too aggressively for the size of my pond.
may 2024
Pond Project Spring 2019
My second pond. Getting bigger… For this one, I didn’t fold and tuck the liner under the perimeter of rock; I simply extended the liner several inches outside the pond’s perimeter and lined it with lots of rocks. I was able to do this because the soil surrounding the pond perimeter was sloped and higher than the pond.